Banquet Event Orders (BEOs)
The content of this page is specific to the Delphi product type only. If you are using the Delphi Core product type and want to learn more about the Delphi product type, contact your sales representative.
After you've blocked your events, you can add your client's food, beverage, and setup requirements and then create the BEO and banquet check. The basic process is to detail each event, and then use the merge feature to create the BEO.
This video walks you through the process of creating your first BEO. From adding menus and items to merging and emailing the final BEO—we highly recommend watching it.
Detailing an event
After you open the booking, you can add menus and items by clicking the Manage Events button, then click the Items link next to your event, this opens the Manage Menus and Items window.
Adding menus & items
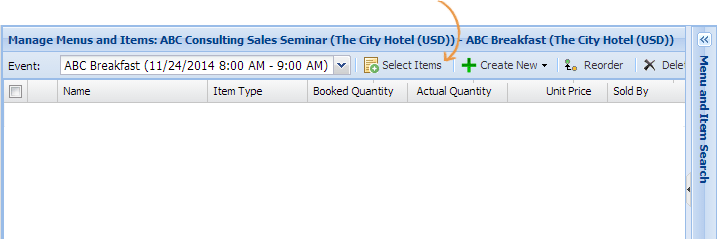
The Manage Menus and Items window is where you will "build" the BEO. To search for and select menus and items, click the Select Items button. This expands the Menu and Item Search window.
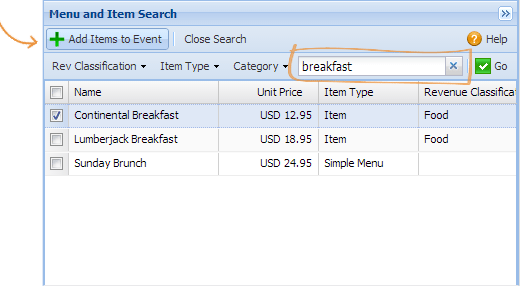
In the Search box, type the name, abbreviation, or description of the menu or item you want to add and click Go. All the menus and items that match your entry are shown. Select the ones you want and click the Add Items to Event button.
To view all menus and items available to you, clear the Search box and press the Enter key or click Go.
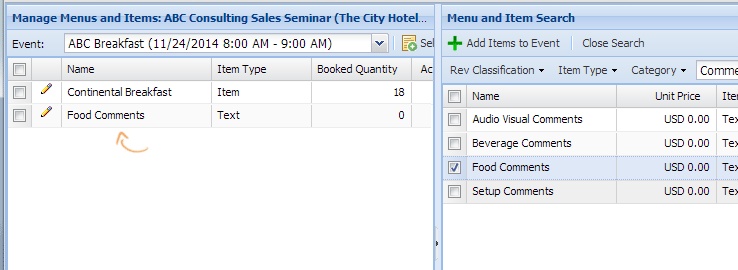
Follow the same steps to add audio visual items, setup requirements, even common text phrases can be added. A text item is a convenient way to include notes on the BEO in a standard format. For example, you might have a Food Comments text item that says, “All dairy products must be organic."
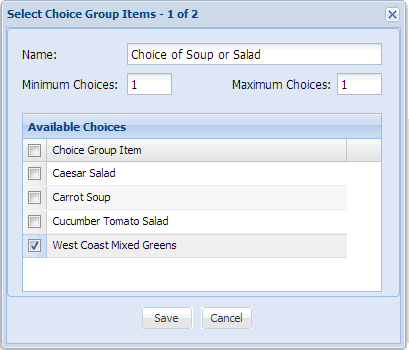
Some menus come with choices, such as choice of soup or salad. If a menu has a choice group, the choice group will appear automatically. Select the item(s) you want to add and click the Save button. The item(s) that you selected are then added to the menu.
Adding menus & items to multiple events
When you have a large multi-day program where the group is having the same breakfast, meeting setup, and morning break each day, it can be tedious to add menus and items to each individual event. Good news—you don't have to!
Watch this video to learn how to add menus and items to multiple events in one easy step.
Copying menus and items from one event to another
Of course, every wedding is unique—but sometimes the menus and items from one wedding to another can be surprisingly similar. Save yourself time by learning how to copy menus and items from one event to another. We'll also review how to preview the BEO before merging it and use the find and replace feature to make last minute changes a breeze.
Learn how to copy your menus and items from one event to another in this video.
Merge & email a BEO
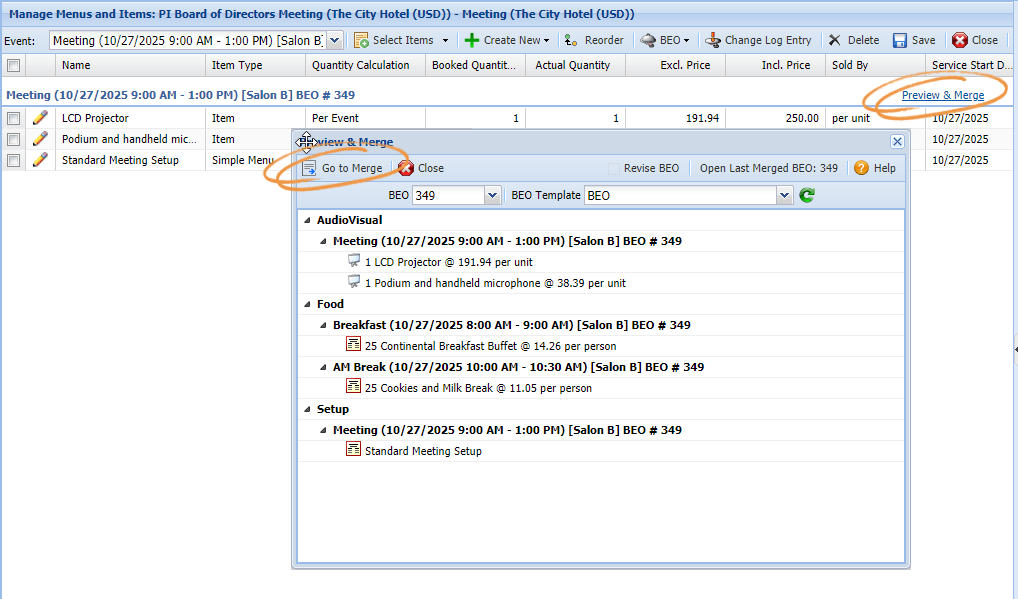
When you finish detailing the BEO you can merge it and email to your customer. To print a single BEO from the Manage Menus and Items window, click Preview & Merge—if everything looks good—click Go to Merge. Select the document you want to merge and then click Generate & Email. If you prefer to detail all of the group's BEOs and then email them one document—read on.
Batch merge all BEOs for a group
If you want to send your client one document that includes all the BEOs for their program, click the Batch Merge button at the top of the Booking page.
In the Merge Type field select BEO or Banquet Check and then click Search. Select the BEOs you want to include in the batch and click Generate.
When the batch merge is complete, click the Document Name link at the top of the page, click the Document Path link, and then click View File.
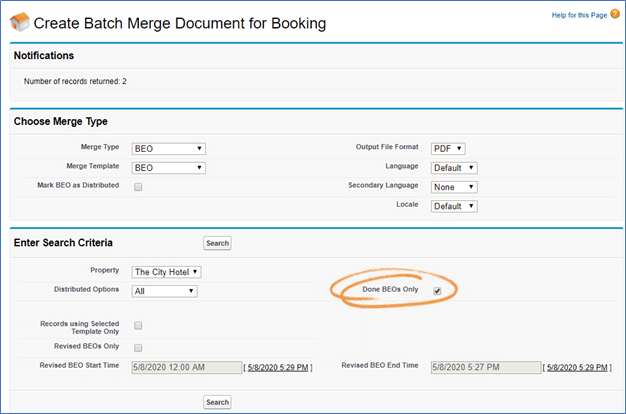
When you click Search on the Create Batch Merge Document page, only BEOs that have already been marked done will display in the results. If you've detailed an event but have not marked it done you will not see that BEO in the results. If you want to see all BEOs for a booking, clear the Done checkbox and search again.
Batch merge BEOs for distribution
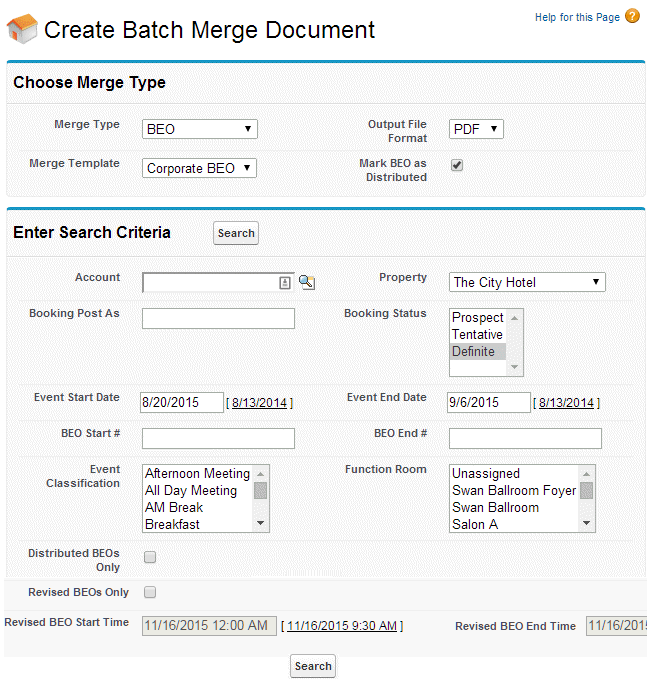
To batch merge BEOs for distribution or banquet checks for a particular day, navigate to Batch Merge, and then click the Merge button.
For example, to create a BEO distribution packet set the Merge Type field to BEO, select the Mark BEO as Distributed checkbox, enter the Event Start and End Dates, and then click Search. Select the BEOs you want to include and click Generate.
When the batch is complete, click the Document Name link at the top of the page. You can print the PDF document or save and e-mail it.
Your administrator can configure the Event Start Date and Event End Date fields on the Create Batch Merge Document page to default to your typical distribution schedule.
Entering actuals and printing banquet checks
At the end of the event you'll want to update the actual event attendance, add last minute items, and update the quantity of items and menus priced on consumption.
The following video walks you through the entire process of entering actuals for one or more groups and then printing or batch printing the banquet checks. Even if you are not using the banquet check it's important that you enter the actual event attendance for accurate reporting.
Revising BEOs
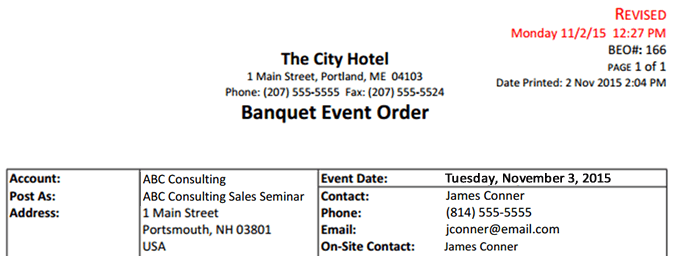
If you make a change to an event after the BEO has been distributed, you can flag the BEO as revised. When you reprint the BEO a revised date and time will display.
There are several ways to mark a BEO revised. The most common is from the Manage Events or Manage Menus and Items window—the process is the same regardless of which window you're working in.
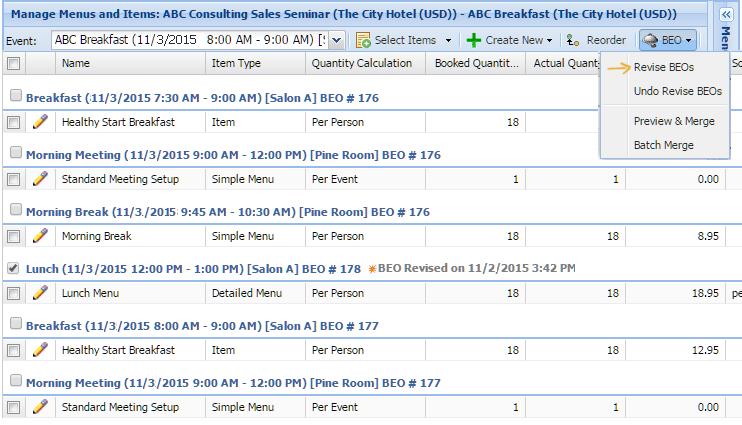
To mark a BEO revised, select the event, click the BEO button, and then click Revise BEOs. You can easily see which events have been revised because the revised date and time are added to the event header. To reprint a single BEO, select it and then click Preview & Merge.
Some things to keep in mind
- The event must be marked distributed in order to mark it revised. If nothing happens when you click Revise BEOs, it's most likely because the event has not been marked distributed.
- If you accidentally mark the wrong BEO revised, click the Undo Revise BEOs option.
- Each time you click the Revise BEOs button, the date and time stamp is updated.
- To print all revised BEOs, regardless of booking, use the Batch Merge feature. For example, you can print all BEOs that were revised since yesterday at 5:00 PM.
Change Log
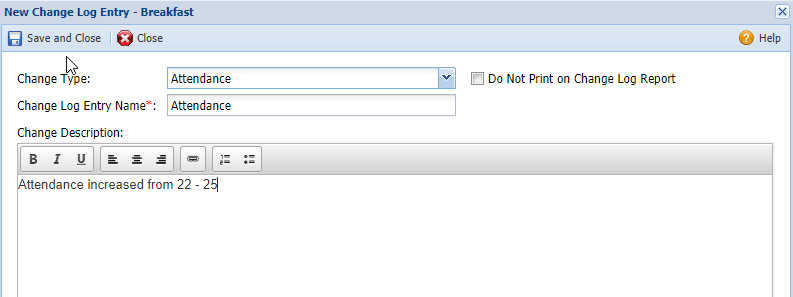
When the BEO has been distributed to your operations team, any changes to the events should be logged in the Change Log.
After you have made the required changes, click the Change Log Entry button from the Manage Menus and Items or Manage Events window to record the entry.
From the Amadeus Reports tab, you can run the Change Log report to view a list of changes logged for a particular date range or BEO.
Quiz Time
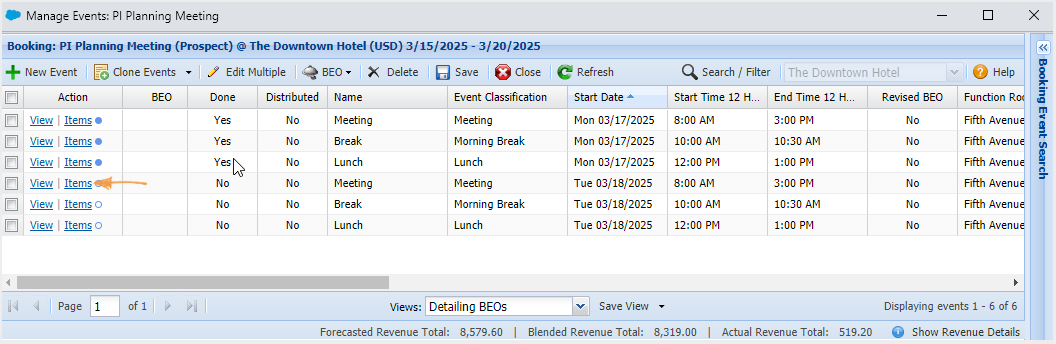
- Jack from Platinum Industries is ready to select a menu for the lunch on day two of his program. Based on the image below, how can you open the event to detail it?
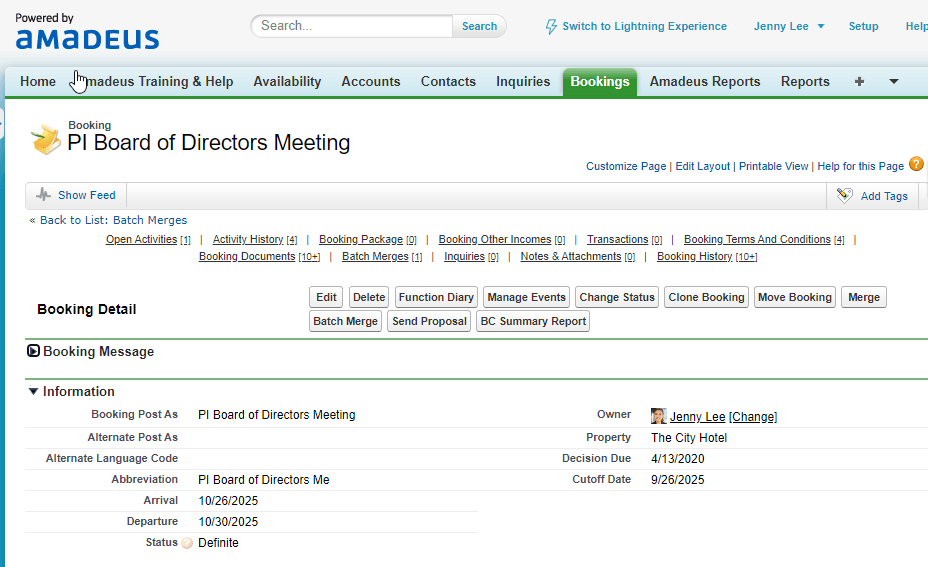
- Click the Manage Events button to open the Manage Events grid and find the event.
- Navigate to the Booking Events grid and click on the Items link for the event.
- Both A and B.
- You have already added the audio visual and setup requirements for the Meeting event. Based on the image below, what should you do to assign it to a BEO?
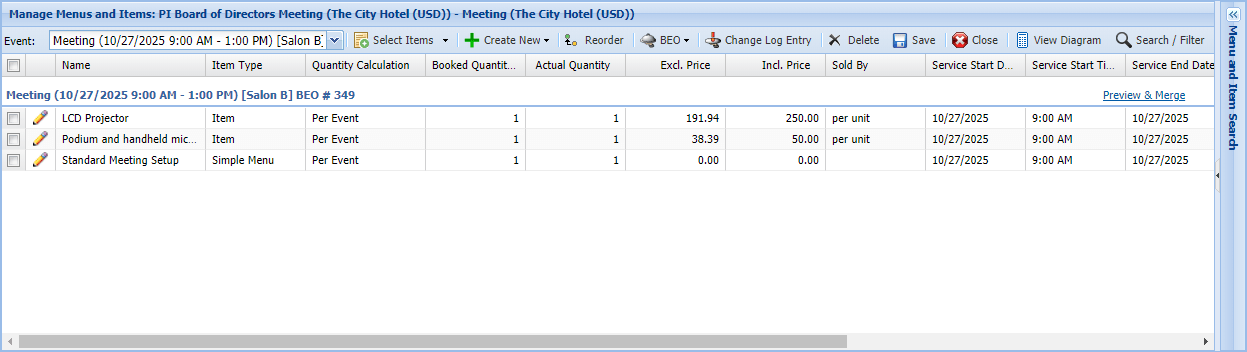
- Click the Preview & Merge link, then Go to Merge, select which event you want on the BEO and then Generate.
- Select the event, click the BEO button and select Assign single BEO# to each Selected Event.
- Select the event and then right-click anywhere on the grid and select the BEO menu selection.
Summary
You can add menus and items to an event at anytime in the booking process. Often times, users you block the events, send the contract, and then create a task to remind themselves to detail the events. But you might choose to add the menus when you block the event, especially for simple events like a Continental Breakfast. Another option to keep in mind is that you can clone booking events, including the menus and items, so you might want to create the event for day one of the booking and then copy it to the other days as needed.
Next Topic > Packages or Reports